
 |
I recognized right away that this was a very demanding project, so was very careful with every choice from hardware and material selection to joinery and construction methods. I settled on twin haunched and drawbored mortise and tenons. Since the top rail was wider than the bottom (more on that later), I used wider tenons there. |
| To facilitate cutting the twin tenons, I made a template with a slot and two friction-fit spacers which allowed me to repeatably adjust the size of the mortise, and mirror the setup perfectly without repositioning the template. Mortises were cut with a 1/2" up-spiral bit in my Festool OF 1400 router, equipped with a template guide. |  |
 |
(To make the slot in the template, I used my Festool OF 1010 router + Guide Rail Adapter + Guide Rail, Whiteside 1/4" up-spiral router bit, UJK Guide Rail Clips, TSO Products Tall Dogs, TSO Products Short Dogs, and Festool 120mm Screw Clamps.) |
|
Assembly of the gate required me to move everything to the sides of the shop to free up floor space. I mixed up slow-cure epoxy, then proceeded to assemble the gate in stages. I relied on the power of my Bessey K-Body parallel bar clamps to pull everything together. |
 |
 |
I didn't have enough elevated work surfaces to support such a large frame, so had to work on the floor. I found that Systainers made ideal stand-offs when clamping and sawing, plus they allowed me to crouch rather than work on my knees, while still allowing me to step over the gate. |
|
As challenging as the joinery and assembly was, the one step that I gave more thought to was the sweeping curve in the top rail.
The 12 foot long 2x12 was to have a curve reducing its width to 8 inches in the middle, and the curve had to be fair. I was dreading the idea of having to fair the curve with a spokeshave or sander.
The piece was too big and cumbersome for me to easily process on the bandsaw, and a 46 foot router trammel didn't sound appealing.
|
 |
 |
I ended up using my Festool jigsaw. Though not needed to prevent splintering, the splinterguard provided a clear index mark and by keeping it on my pencil line (drawn with a flexible batten), I was able to cut a fair curve requiring no rework! |
| With the gate finally ready for installation, it was a nervous moment when I checked it with a box beam level after installing the 36 inch strap hinges. But sometimes, things just work out. | 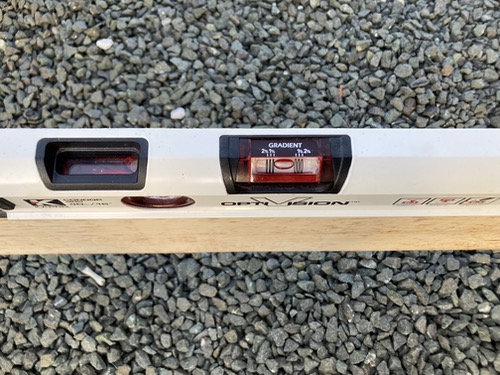 |
 |
Landscaping remains, but the gate is now installed and operational. |
Key Tools Used in This Project

|
 |
 |
 |
| Festool TS 75 Track Saw | Festool OF 1010 Router | Festool OF 1400 Plunge Router | Festool PS 300 Trion Jigsaw |
 |
 |
 |
 |
| Whiteside Spiral Upcut Router Bits | Bessey K Body Parallel Bar Clamps | Kapro 905 Condor OptiVision Level | Festool Sys3 Systainers |
The gate was a mammoth undertaking, and I've never been more glad to get a project out of the shop. I'm equally glad to see that it turned out the way it did.
While tools do not make the project, having the right tools certainly make the process faster, easier and less stressful. Throughout the project, I relied on them in expected and unexpected ways.
Need help figuring out how to make your next project a reality? Give us a call or stop by the store and we can make some recommendations for tools to help you achieve your goals.
Until next time,
Chris Wong.
